Overview of Valve Guide Replacement
Valve guide replacement is a crucial part of cylinder head maintenance, involving removing old valve guides and installing new ones. Several methods exist for removing the old valve guides, ensuring proper functionality and engine performance.
When to Replace Valve Guides
Valve guide replacement becomes necessary when issues arise such as increased oil consumption, unusual noise emanating from the cylinder head, or a noticeable loss of engine power. Addressing these symptoms promptly maintains engine health.
Increased Oil Consumption
Increased oil consumption often indicates worn valve guides. When the clearance between the valve stem and guide increases, excessive oil can be drawn into the combustion chamber. This leads to the burning of oil along with fuel, resulting in blue smoke from the exhaust and a decrease in oil levels;
Monitoring oil consumption is crucial, as a sudden increase can signal valve guide wear. Replacing the guides restores proper valve stem sealing, preventing oil leakage and maintaining optimal engine lubrication. Regular checks help to mitigate potential engine damage, ensuring efficient performance and longevity.
Noise from the Cylinder Head
Unusual noises emanating from the cylinder head often suggest worn valve guides. As the guides wear, the valves can move excessively within them, causing rattling or ticking sounds. This noise is typically more noticeable during cold starts or when the engine is under load.
The increased play between the valve stem and guide allows the valve to impact the seat improperly, creating noise and potential damage. Addressing this issue promptly by replacing the valve guides can prevent further wear and tear, maintaining smooth valve operation and minimizing engine noise. Regular inspections can help identify and resolve such issues.
Loss of Engine Power
A noticeable reduction in engine power can indicate worn valve guides. When valve guides are excessively worn, they compromise the valve’s ability to seal correctly against the valve seat. This poor sealing leads to compression loss within the cylinder, reducing the efficiency of combustion.
Consequently, the engine produces less power, and overall performance suffers. Replacing the valve guides restores proper valve alignment and sealing, ensuring optimal compression and combustion. This, in turn, helps to regain lost engine power and improve the vehicle’s responsiveness. Timely replacement is vital for maintaining engine efficiency and performance.
Tools Required for Valve Guide Replacement
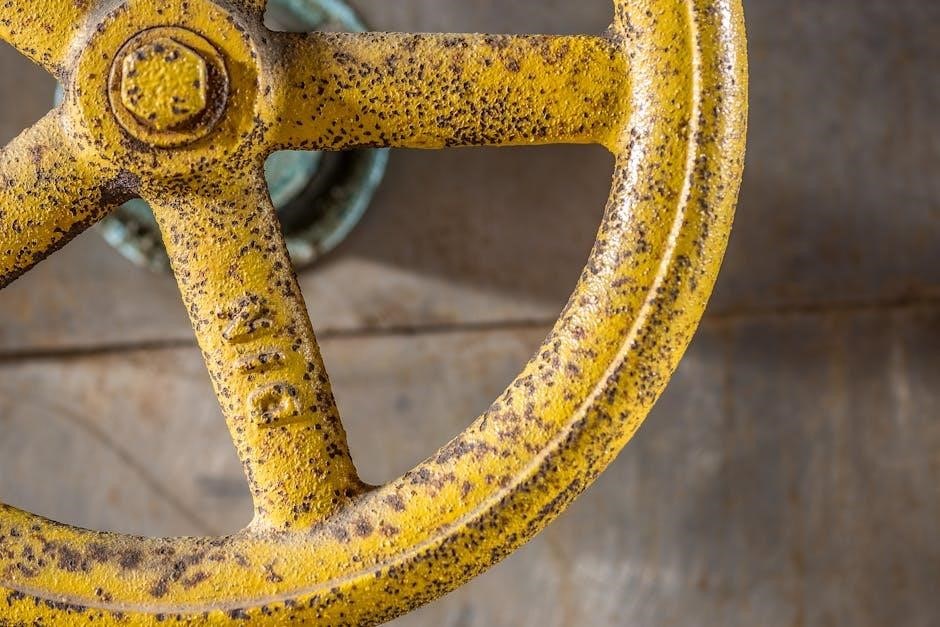
Replacing valve guides requires specialized tools, including a valve guide removal/installation tool, valve guide reamers, and a молоток (hammer). These tools ensure precise removal, installation, and proper fitting of the new guides.
Valve Guide Removal and Installation Tool (Press or Driver)
A valve guide removal and installation tool, whether a press or driver, is essential for precisely removing old guides and installing new ones. The tool ensures the guides are installed straight and at the correct depth. A stepped drift should be used to avoid damaging the head and stepped drifts that have a smaller diameter to fit the guide and will freely pass through the head;
A press offers greater control, minimizing the risk of damage during the process. The tool applies even pressure to the valve guide during the installation process. The driver tool is faster, where the proper size adapter to fit the valve guide will be needed. Both tools are vital for achieving a professional and reliable valve guide replacement. It’s necessary to select the right adapter for removing and installing to prevent damages.
Valve Guide Reamers
Valve guide reamers are essential for calibrating the valve guide bore after installation. Reaming ensures the correct valve stem clearance, which is vital for proper valve operation. High-quality reamers, such as diamond reamers, provide a stable and accurate bore size. Regular steel reamers wear out quickly, so special tools should be used for a long-lasting life.
The reamers help achieve the correct valve stem clearance and are available in different sizes. Using the correct reamer ensures optimal engine performance and prevents valve sticking. After reaming, always check the valve clearance to meet the manufacturer’s specifications. The valve stem should have a clearance of 0.02-0.04mm for intake valves and 0.03-0.04mm for exhaust valves.
молоток
A молоток, or hammer, is a fundamental tool in valve guide replacement. It is used with a valve guide removal and installation tool to drive out old guides and press in new ones. When using a молоток, precision is key to avoid damaging the cylinder head or new valve guides.
Use a молоток with a brass or soft face to prevent direct metal-on-metal contact. Apply controlled, firm taps rather than forceful blows for even installation. Ensure the cylinder head is properly supported to prevent movement during hammering. A молоток is also handy for seating the valve guides securely. Always wear safety glasses to protect from flying debris when using a молоток.
Step-by-Step Guide to Valve Guide Replacement
Replacing valve guides involves careful preparation, removal of old guides (often using impact or heat), installation of new guides, and reaming for proper valve stem clearance. Precision is paramount.
Preparation and Disassembly
Before beginning any valve guide replacement, preparation is essential. Start by securing the vehicle and disconnecting the battery. Then, carefully remove the cylinder head from the engine, ensuring all necessary components are detached. This includes the intake and exhaust manifolds, as well as any associated sensors or wiring harnesses.
Clean the cylinder head thoroughly to remove any oil, dirt, or debris that could interfere with the process. Inspect the head for any cracks or damage that may require additional repairs. Secure the head in a stable position for further disassembly.
Proper preparation ensures a smooth and efficient valve guide replacement process.
Removing Cylinder Head Components
To begin, carefully remove the rocker arms or camshaft, depending on the engine design. Next, use a valve spring compressor to compress the valve springs and remove the keepers, retainers, and valve springs. Ensure each valve is labeled or stored in an organized manner to guarantee correct reinstallation.
After removing the valves, inspect them for wear or damage. Clean the combustion chambers to remove any carbon deposits. Pay close attention to the valve seats, as they must be in good condition for proper valve sealing.
With the cylinder head components removed, the head is ready for valve guide replacement. Careful disassembly and organization are critical for a successful repair.
Removing the Old Valve Guides
Removing old valve guides typically involves using a specialized valve guide removal tool. This tool, often a press or driver, applies force to push the old guide out of the cylinder head. Ensure the cylinder head is properly supported to prevent damage during the removal process.
Alternatively, the guides can be removed using a hammer and punch, applying controlled force to drive them out. In some cases, heating the cylinder head can aid in the removal process by slightly expanding the metal and reducing the interference fit.
Care should be taken to avoid damaging the cylinder head during removal. If a guide is particularly stubborn, consider using a penetrating oil to help loosen it.
Ударный способ
The “ударный способ,” or impact method, involves using a hammer and punch to drive the old valve guides out. A brass or bronze drift is placed against the valve guide from the combustion chamber side. Hammer blows are then applied to the drift, forcing the guide out.
It’s crucial to use a drift with a stepped design. The smaller diameter should fit snugly inside the valve guide, while the larger diameter should clear the cylinder head to prevent damage.
Apply controlled, firm blows to avoid damaging the cylinder head. If resistance is high, consider applying heat to the head to ease removal. This method requires precision and care.
Heating the Cylinder Head
Heating the cylinder head is a method to aid in valve guide removal, particularly when dealing with tightly fitted guides. Applying heat expands the aluminum, reducing the interference fit between the guide and the head; Ideally, use an electric furnace for even heating.
A household hotplate can serve as a garage alternative. Aim for a temperature around 150 degrees Celsius. Monitor the temperature to avoid overheating, which could damage the head.
After heating, use the impact method or a valve guide removal tool for extraction. The expanded metal eases removal, minimizing the risk of damaging the head.
Installing New Valve Guides
Installing new valve guides requires careful attention to detail to ensure a proper fit and alignment. Before installation, measure the bore diameter in the cylinder head and the outer diameter of the new valve guide to determine the interference fit.
The interference should typically be between 0.03 and 0.05 mm. If the bore is too large, consider using an oversized valve guide. Before pressing in new guides, thermal management can greatly improve the process.
Heating the cylinder head to around 150 degrees Celsius expands the metal, while chilling the valve guides can cause them to contract.
Heating and Cooling Considerations
When installing valve guides, consider heating the cylinder head to approximately 150°C (300°F) in an oven or with a hot plate. This expansion facilitates easier guide insertion.

Simultaneously, chill the new valve guides in a freezer to slightly contract them. This temperature difference aids in a smoother installation process, reducing the risk of damaging either the head or the guide.
Quickly press or drive the cooled valve guides into the heated cylinder head, working swiftly before temperatures equalize. Proper temperature management ensures correct interference fit and long-term reliability of the valve guides.
Ensuring Proper Fit and Alignment
After installing the new valve guides, verifying their correct fit and alignment is essential. Check that each guide is fully seated in its bore within the cylinder head, ensuring no portion protrudes excessively or unevenly.
Use a valve guide installation tool to guarantee the guides are perpendicular to the valve seat. Misalignment can cause premature wear and poor valve sealing.
Confirm the installed height matches manufacturer specifications to maintain correct valve train geometry. Precision at this stage prevents future engine performance issues and enhances overall reliability, ensuring longevity.
Reaming and Honing the New Valve Guides
After installing the new valve guides, reaming and honing are essential to achieve the correct internal diameter. This process ensures proper valve stem clearance, crucial for smooth valve operation and preventing premature wear.
Use specialized valve guide reamers and hones to carefully size the inside of the guides to the specified dimensions. These tools provide a precise finish, necessary for optimal valve performance.
The goal is to create a smooth, consistent surface that allows the valve stem to move freely without excessive play, reducing oil consumption and extending valve life. Precision is key.
Achieving Correct Valve Stem Clearance
Achieving the correct valve stem clearance after reaming and honing is vital for optimal engine performance. The clearance must fall within the manufacturer’s specified range, typically between 0.02mm and 0.04mm for intake valves and 0.03mm to 0.04mm for exhaust valves.
Use precision measuring tools like dial bore gauges or telescoping gauges to accurately measure the internal diameter of the valve guides and compare it to the valve stem diameter. This ensures the clearance is within the acceptable range.
Too little clearance can cause the valve to bind and overheat, while excessive clearance leads to increased oil consumption. Adjust as necessary for best results.